
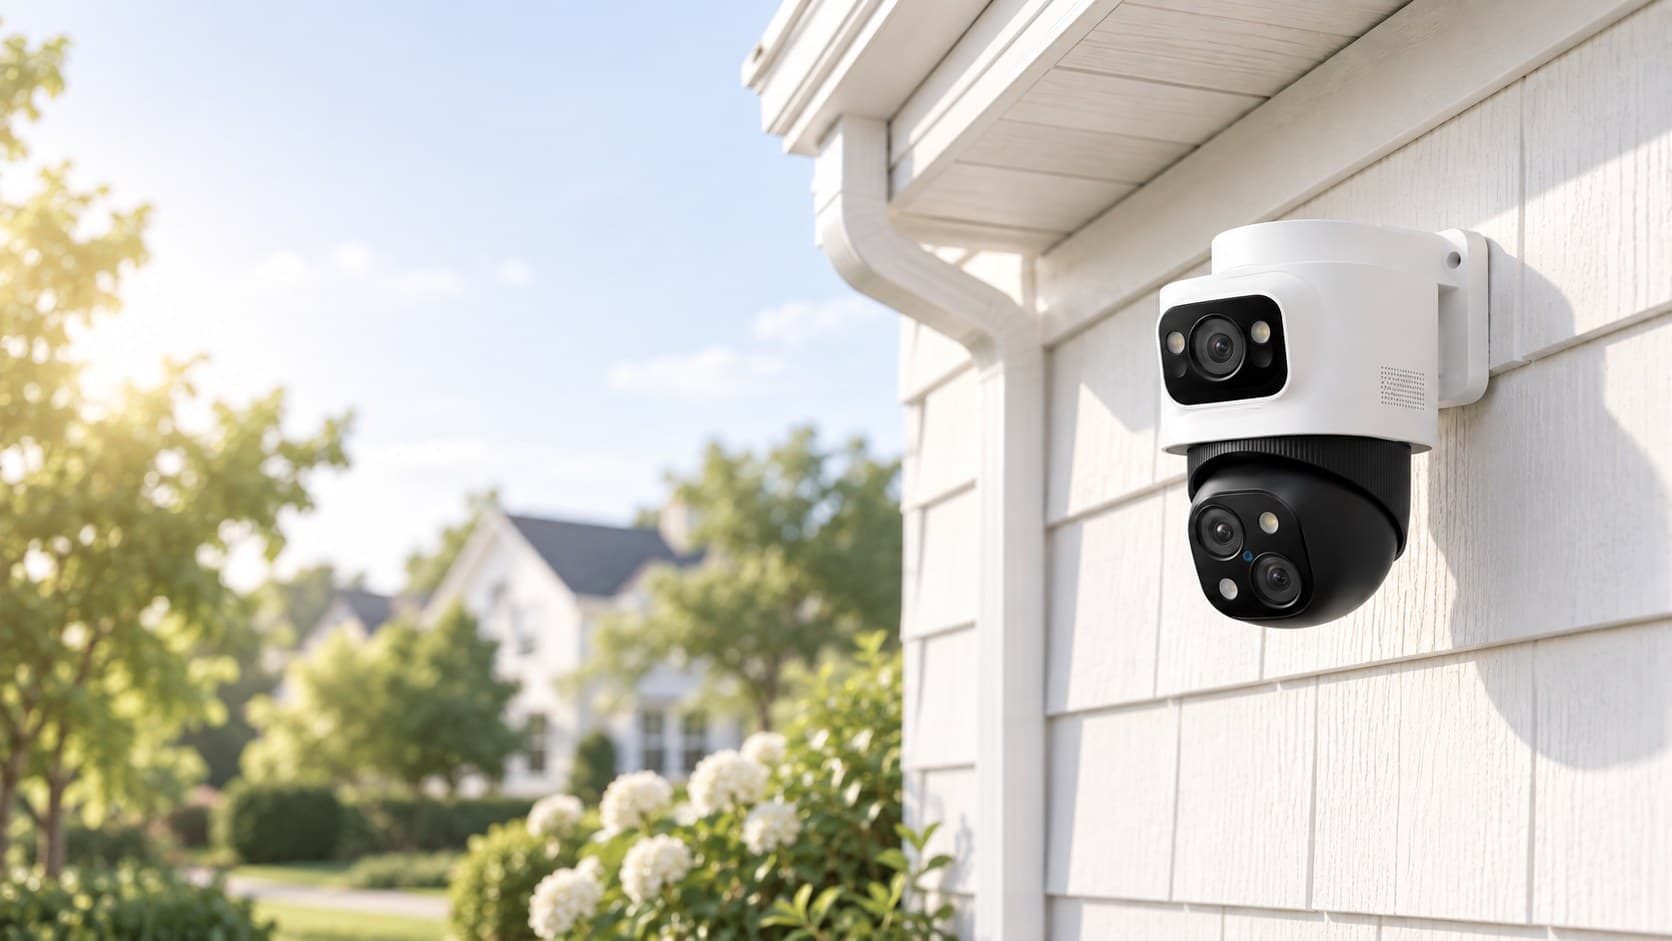
Security camera
installation.
What happens on install day, start to finish.
- Free walkthrough
- No long-term contract
- Install and equipment included
Garner, NC. We serve Raleigh and the surrounding Piedmont, Burlington to Goldsboro.
The pricing page- The camerasPlaced with you on the walkthrough.
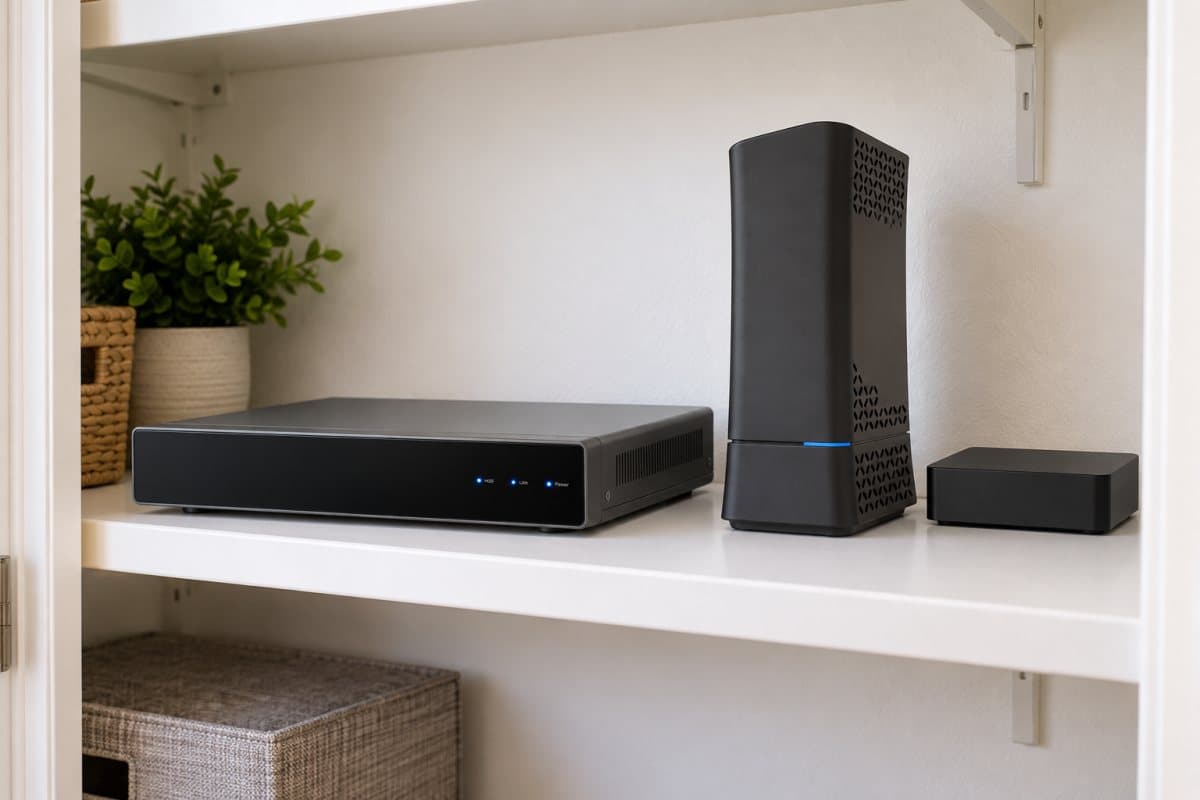
- The recorderWe install the recorder and its drive on a shelf in your house.
- The installationWe run the cable, mount the cameras, seal the holes, and test every detection zone.
Local recorder
- Records in your house
- 2 TB drive included
- Wi-Fi enabled
- 24/7 recording over PoE
- 8 channels, expandable to 16
- 2 TB drive included
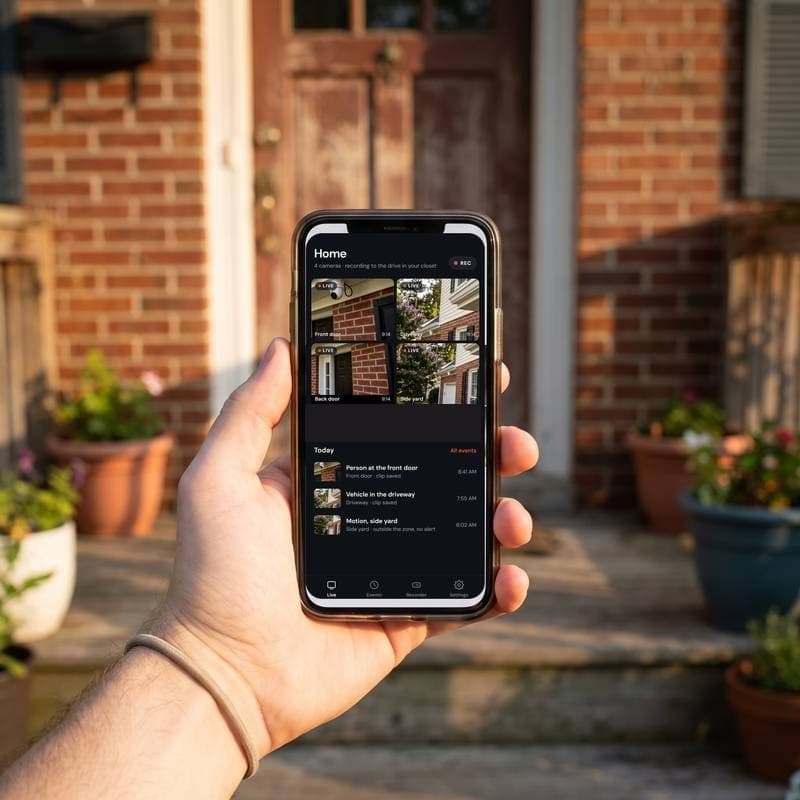
Mobile app
- Live view on your phone
- Clips and alerts
- Wired and wireless, one app
App and login setup, before we leave.
See the handoverYes. Live video and clips on your phone, anywhere. The house needs internet for it to work.
Five-year guarantee
- Free replacement
- All equipment
- No service fee
If anything in the system breaks or stops working, we replace it free.
Read the guarantee- The camerasEvery camera on the system, the doorbell included.
- The recorderThe recorder and the drive inside it.
- The wiringThe wiring, re-run if a cable fails.
- A free walkthrough at your house
- Every camera placed with you
- The estimate, from what was placed
- Installation and handover, the same company
The install,
in six steps.
Six steps to the install, from start to finish.
The outside first, then the inside.
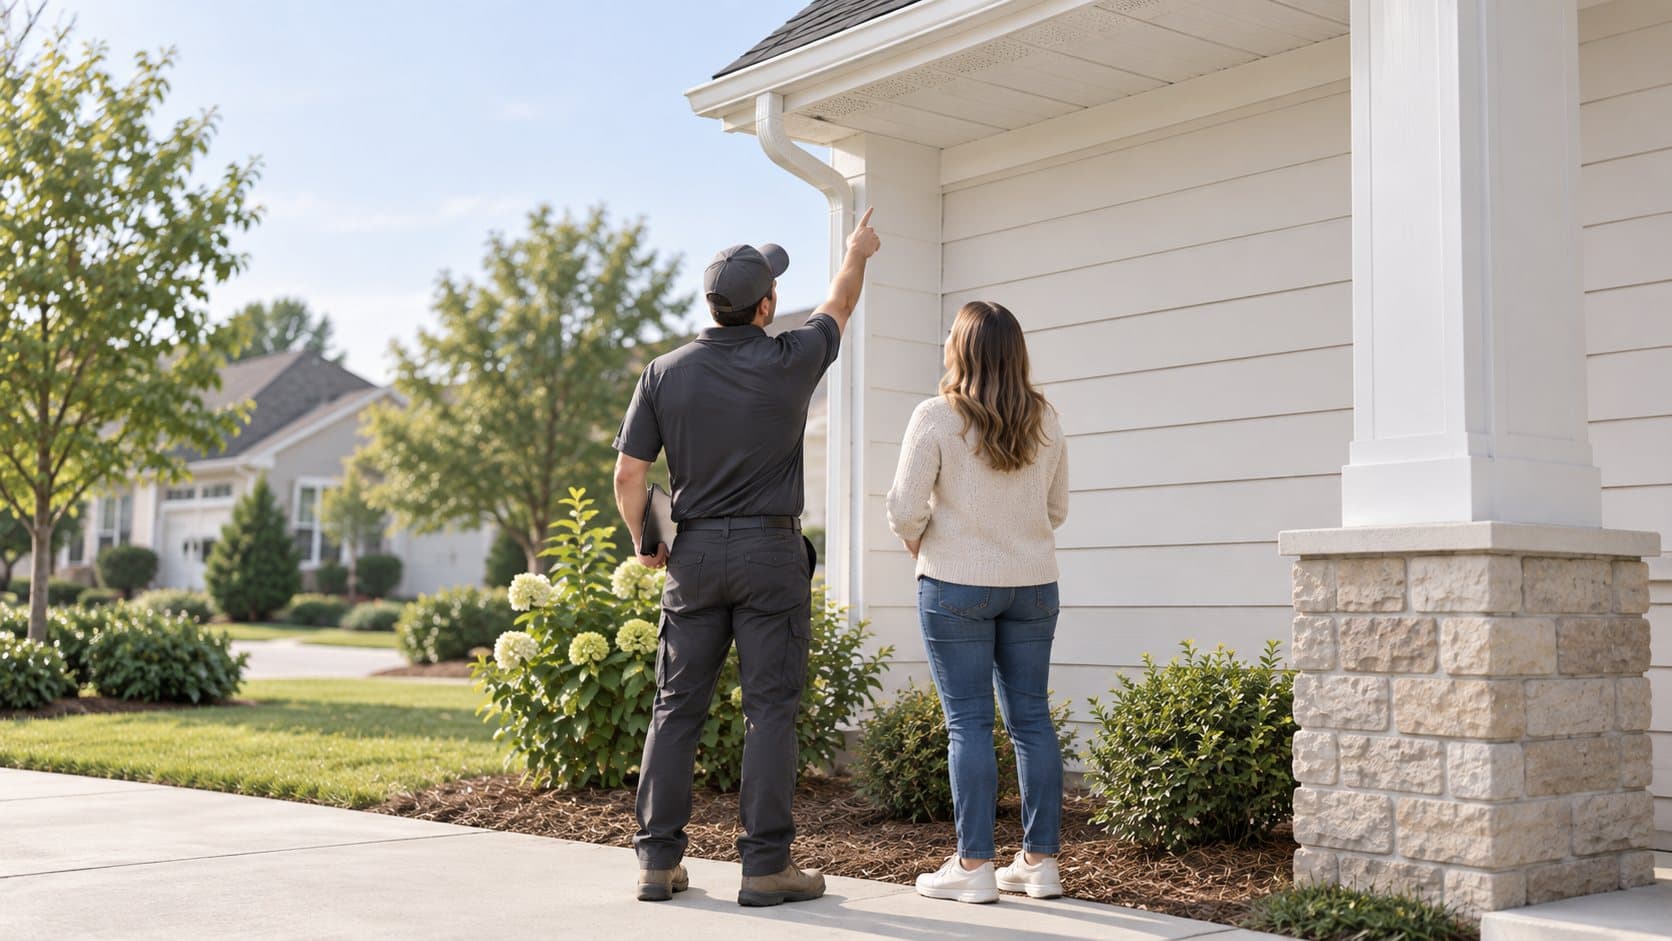
We walk the outside first: the doors, the driveway, and the sides nobody watches. Every camera position gets picked on that walk, before a hole is drilled.
The cable runs through the attic or the crawlspace.
We staple it along the framing, one hole per camera, and you see the route before we drill anything.
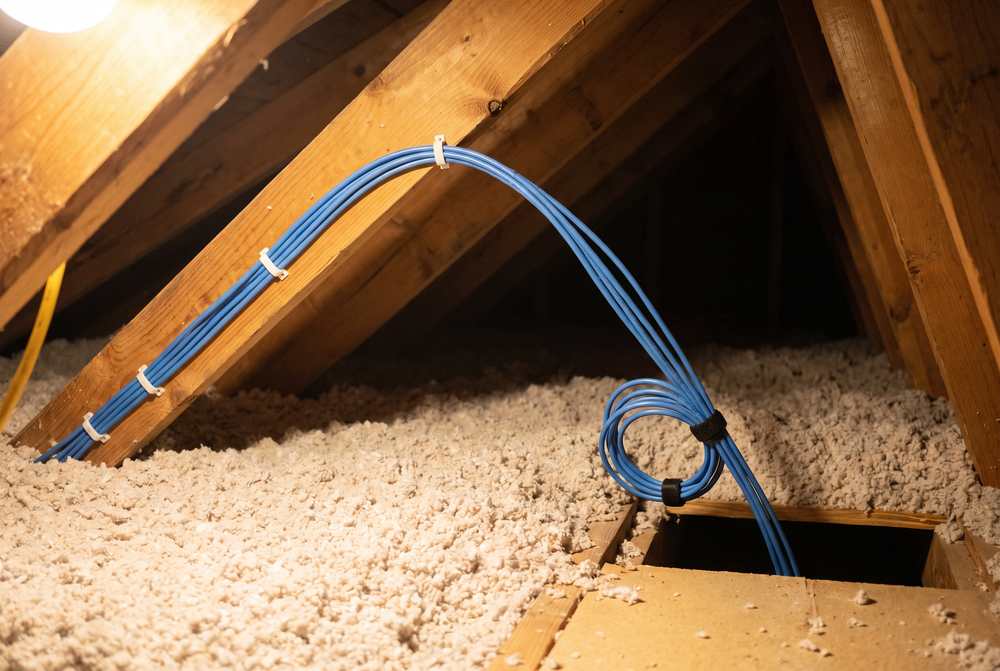
The bracket goes on the fascia.
We screw the bracket into framing at the height the position calls for, then set the angle from the ladder.
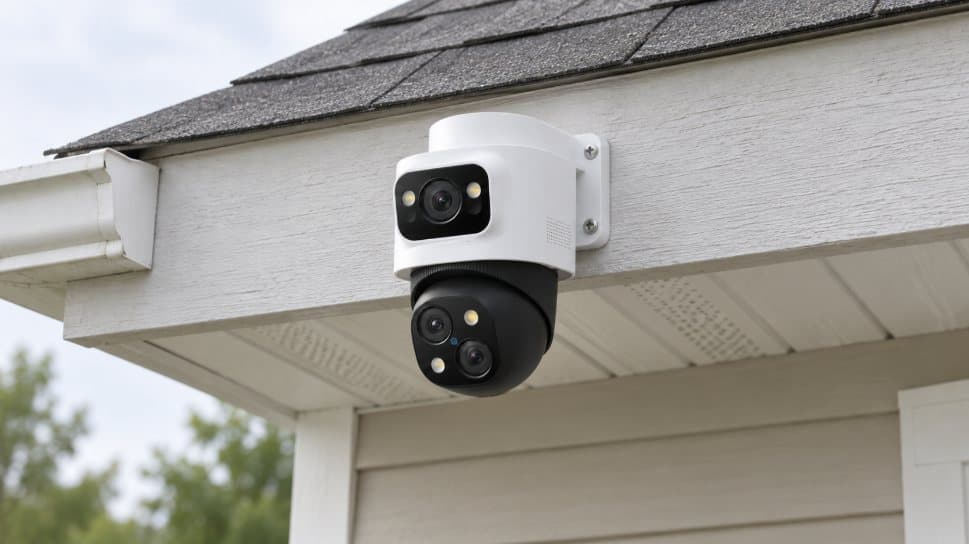
The hole is sealed and the loop hangs below it.
Every hole gets a grommet and a bead of sealant, and the cable hangs in a loop under it so water drips off instead of running into the wall.
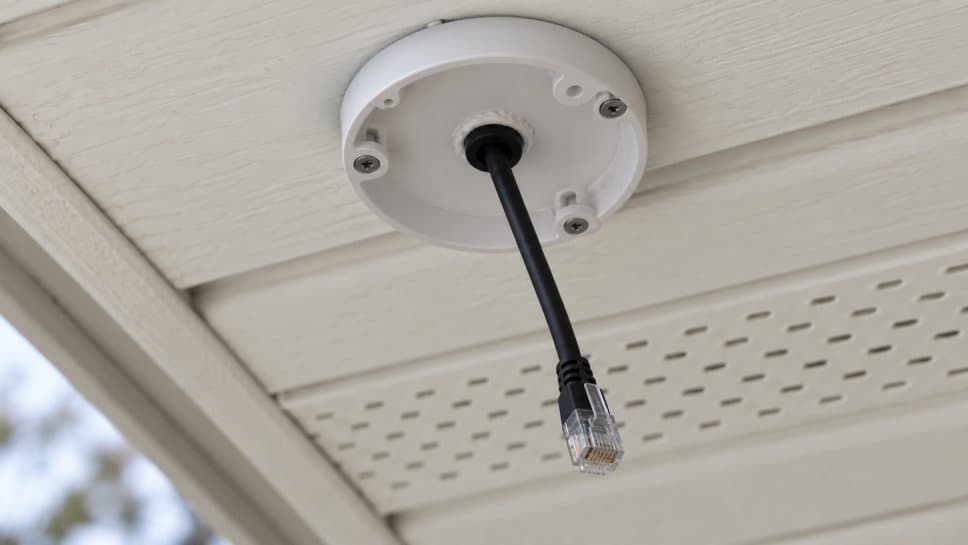
The recorder goes on a shelf in your house.
We put the recorder and its drive in a closet you pick and connect it to your internet. Every camera records to it around the clock.
You create the login. We keep no copy.
We draw the detection zones with you, trigger every alert once while we are still in the yard, then set up the app on your phone and hand you the login on paper.
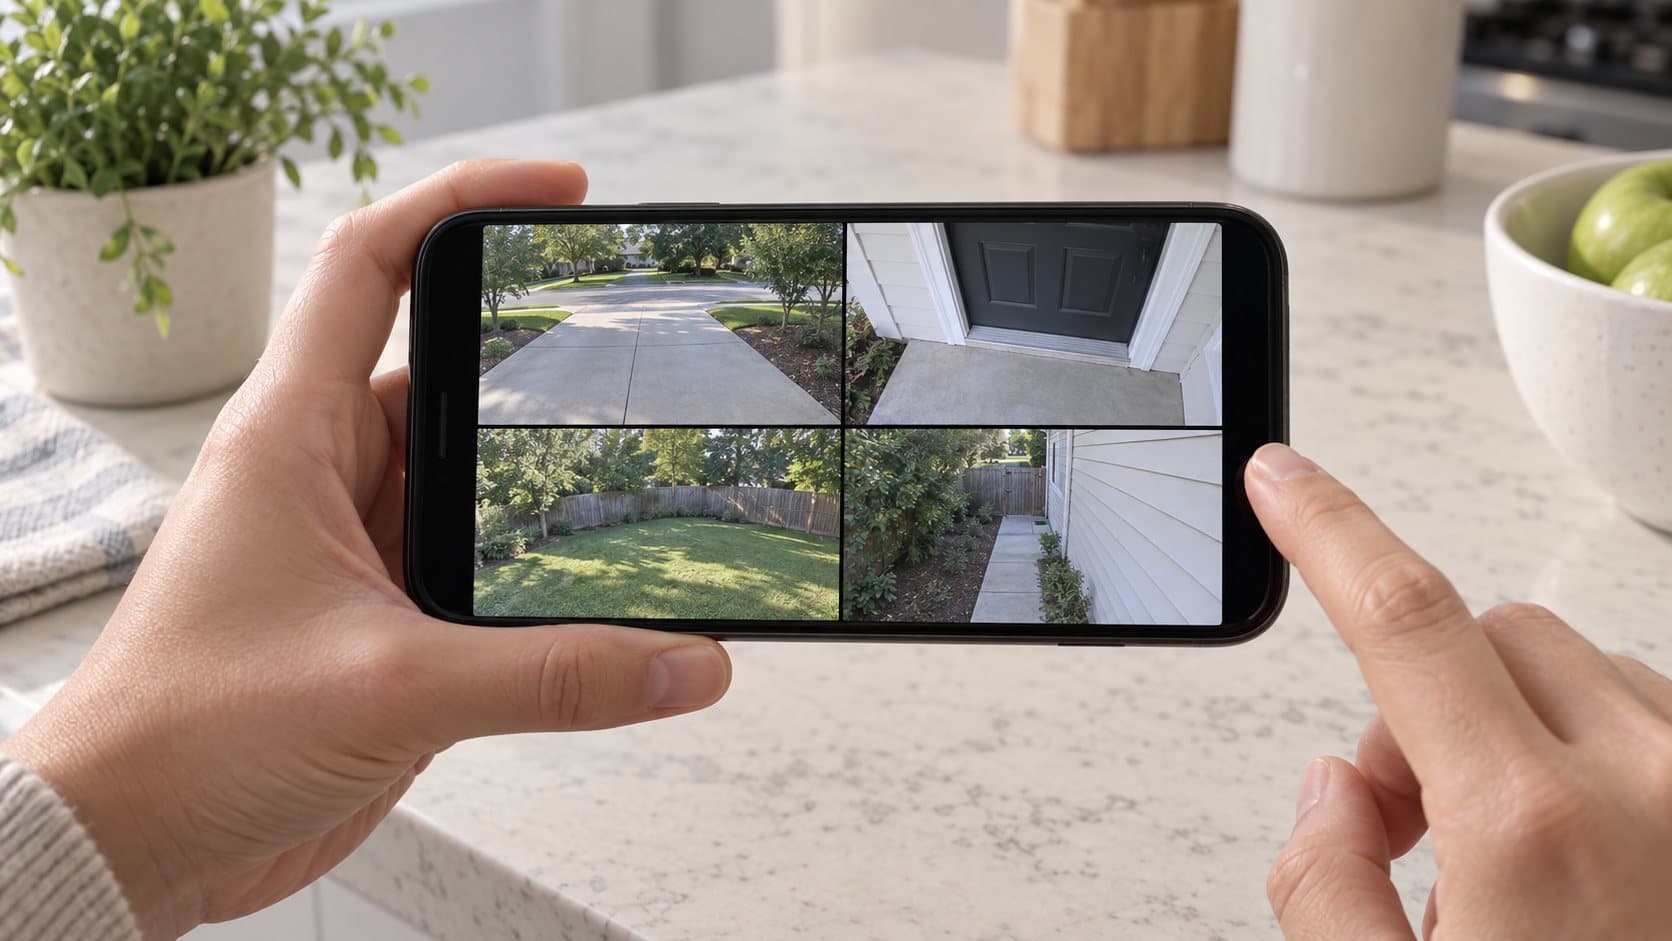
We run all six steps, from the walkthrough to the handover.
The numbers behind step threeWhat a properly installed
system looks like.
Where each part of the system gets installed on your house.
The cable run
We staple the cable along the attic framing and leave spare cable coiled at each camera.
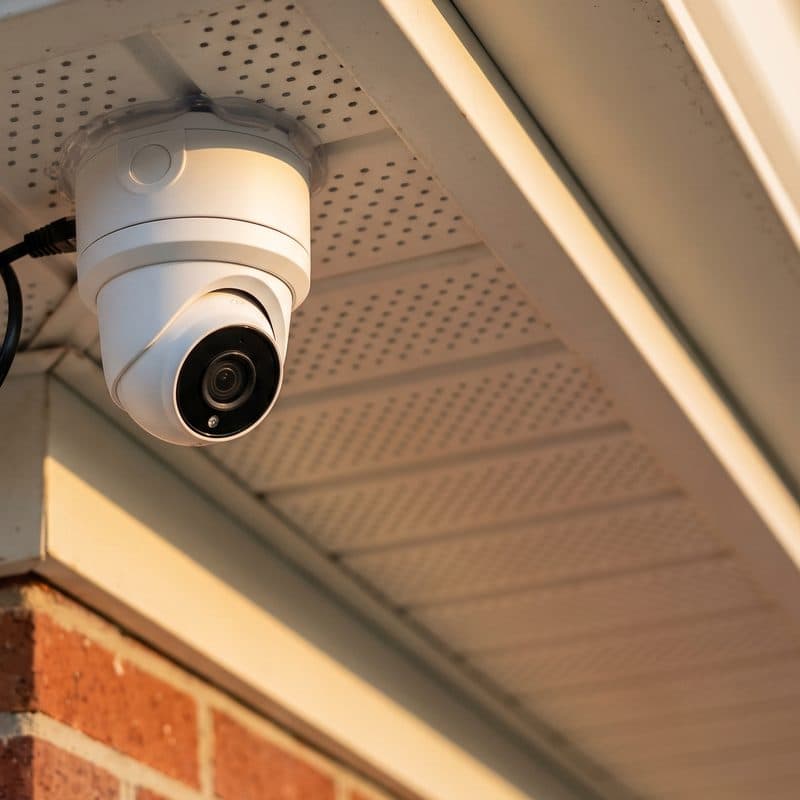
The camera at the eave
We mount the camera flush to the soffit and level, one cable into the base, and set it lower at the doors so it catches a face.
The recorder, in your closet
The recorder saves everything to its own drive, in your house.
Your phone, anywhere
Live view and clips from anywhere, set up together before we leave.
What a finished job
looks like.
Eight things in place on every job before we leave.
Cameras installed
Every camera on the plan mounted, aimed, and sealed, at the height and angle the walkthrough set.
Network and PoE done properly
One switch powers every camera through its own cable, sized for the cameras on the plan.
Recorder installed and configured
On your shelf, writing to its own drive, and checked before we pack the van.
Concealed cable runs
No cable visible from the street, every hole sealed, every run stapled along the framing.
Detection zones tuned
Drawn by hand so the driveway wakes your phone at 2am and the passing road does not.
Training on your own system
We show you live view, clips, export, and the few settings you will actually use, on your phone, while we are there.
Your login, written down and handed over
You create the admin login. It goes on paper at handover and we keep no copy of it.
Support after the install
Call us if something stops working, and we will come out and replace it.
Based in Garner.
13 service areas.
Garner, NC. We serve Raleigh and the surrounding Piedmont, Burlington to Goldsboro.
The same wired system in every town on the list: a local recorder in the house, the app on your phone, and the five-year guarantee.
Garner is the base. The Garner page.